
netdata 모니터링 설치
http://www.aiocp.co.kr (10309)https://www.ehostidc.co.kr/cscenter/consulting.php (9696)

0) 테스트 OS |
OS : ubuntu 20.04 패키지 : netdata, nginx, httpd-tools root권한에서 진행했습니다. |
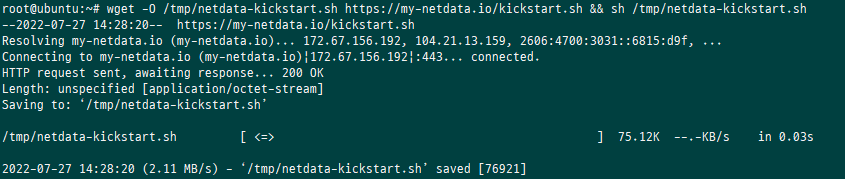
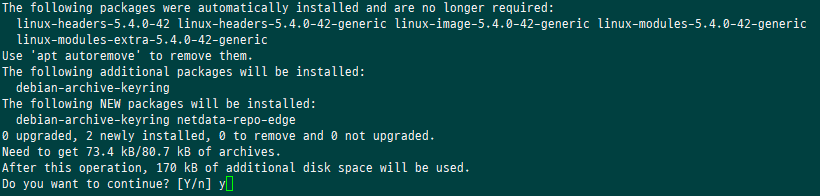
1) netdata 설치 |
|
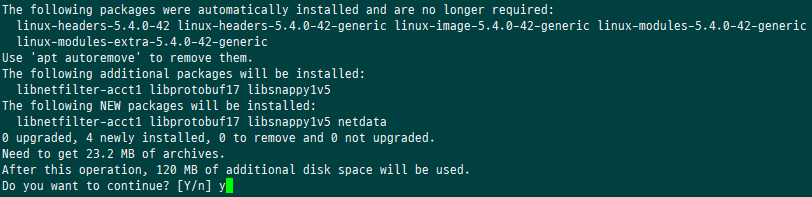
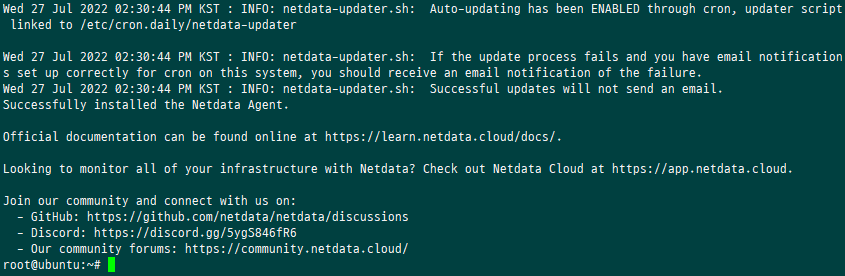
wget -O /tmp/netdata-kickstart.sh https://my-netdata.io/kickstart.sh && sh /tmp/netdata-kickstart.sh 중간에 y 두번 입력 netdata에서 제공하는 kickstart를 이용하여 설치 |
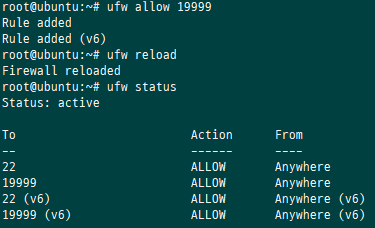
1-1) 병화벽 포트 추가 |
|
방화벽에서 19999포트 오픈 |
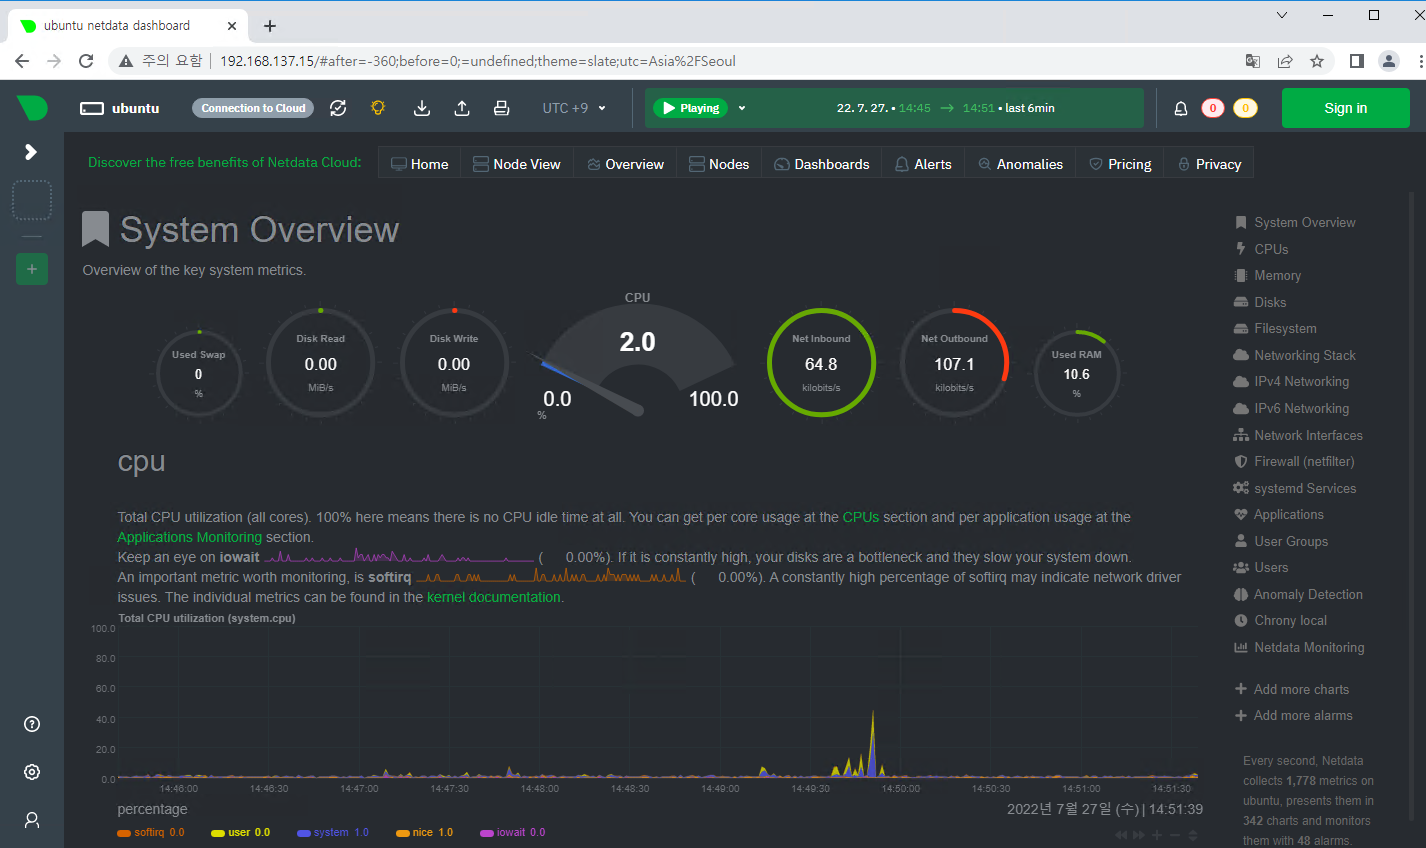
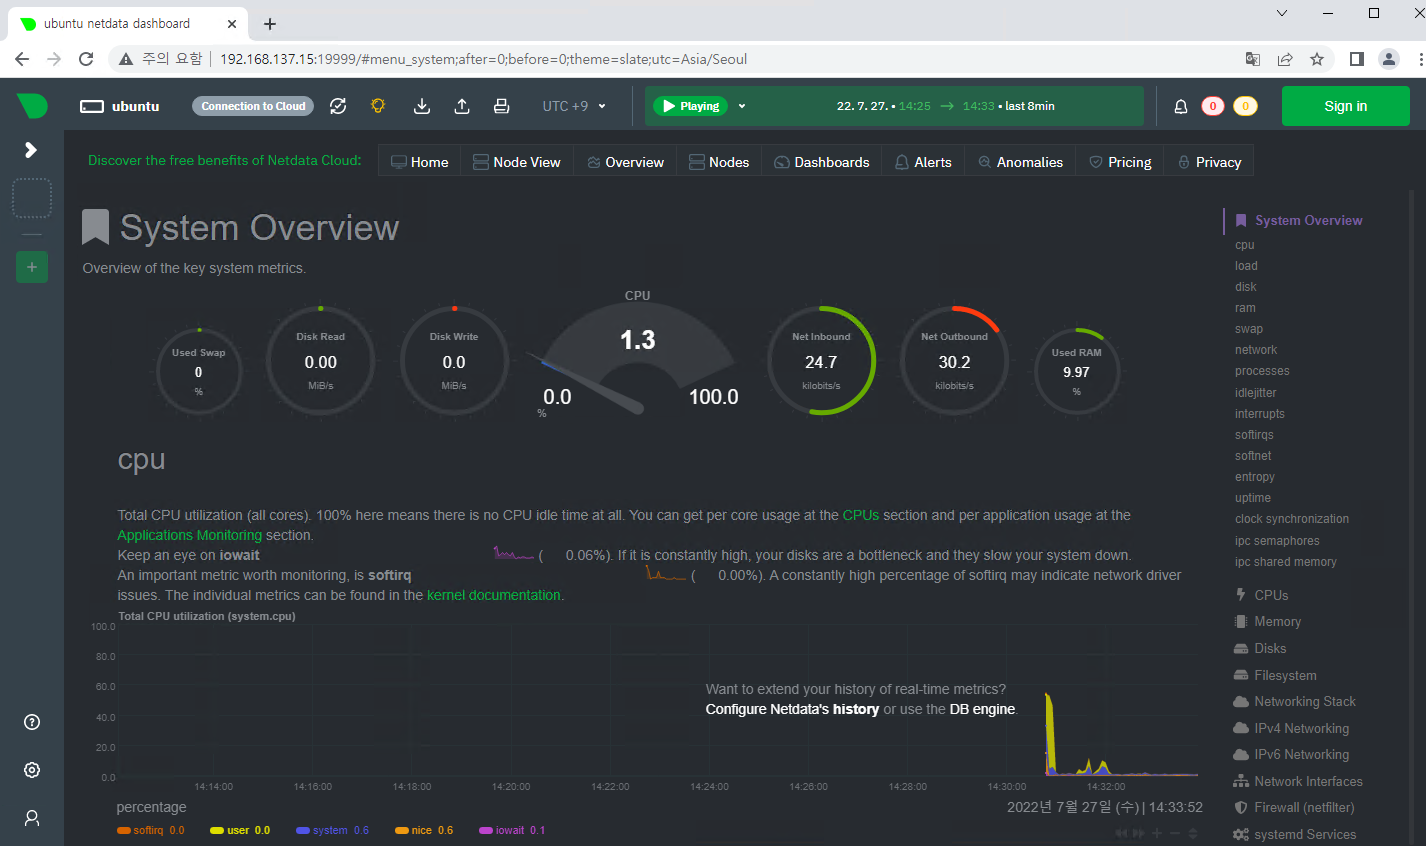
1-2) 접속 확인 |
|
2) Nginx 리버스 프록시 설정 |
|
apt install -y nginx apache2-utils |


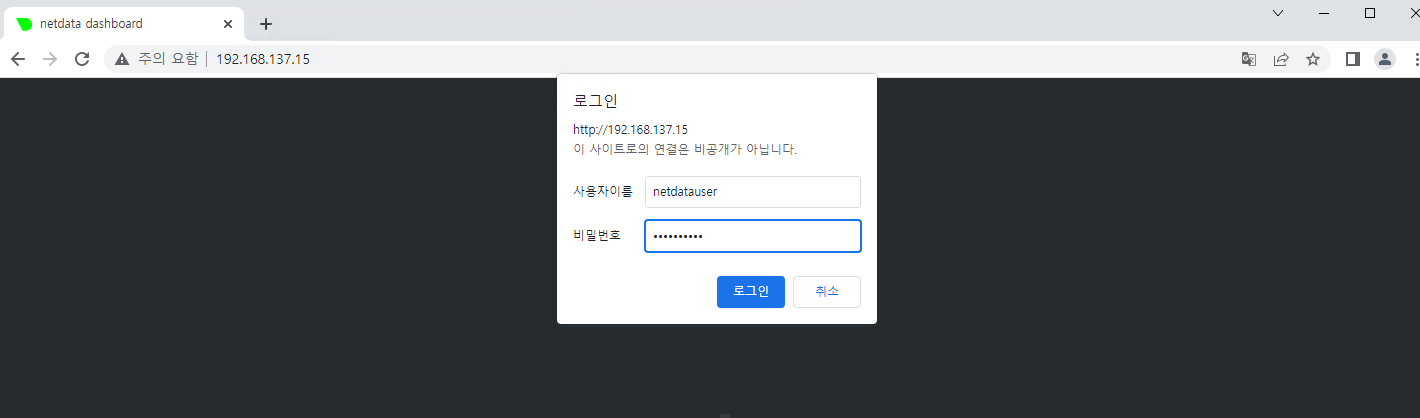
2-1) 접속 계정 생성 |
|
htpasswd -c /etc/nginx/netdata-access netdatauser |

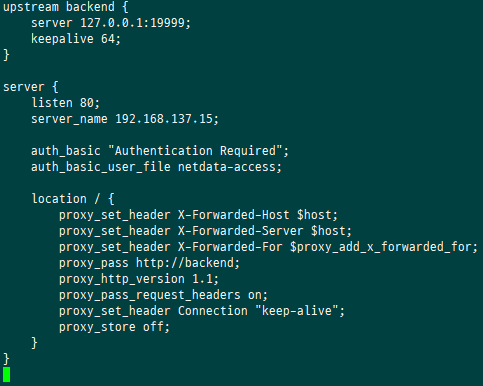
2-2) virtual host 추가 |
|
vi /etc/nginx/conf.d/netdata.conf upstream backend { server 127.0.0.1:19999; keepalive 64; } server { listen 80 server_name [서버 IP 혹은 연결 도메인]; auth_basic "Authentication Required"; auth_basic_user_file netdata-access; location / { proxy_set_header X-Forwarded-Host $host; proxy_set_header X-Forwarded-Server $host; proxy_set_header X-Forwarded-For $proxy_add_x_forwarded_for; proxy_pass http://backend; proxy_http_version 1.1; proxy_pass_request_headers on; proxy_set_header Connection "keep-alive"; proxy_store off; } } |
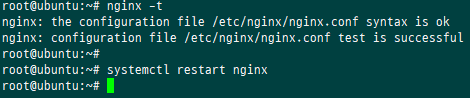
2-3) syntax 체크 및 nginx 재시작 |
|
Nginx –t systemctl restart nginx |
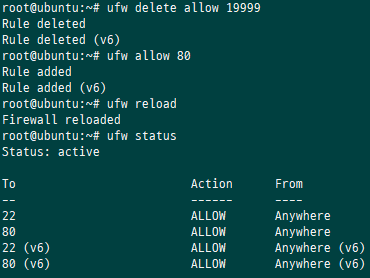
| 2-3) 방화벽 설정 변경 |
|
방화벽 19999포트 삭제 및 80 포트 추가 |
2-3) 접속 확인 |
|
http://IP로 접속 |